Leaks can be a nightmare, whether they’re in your bathroom, kitchen, roof, or vehicle. Left untreated, they can lead to water damage, mold growth, and costly repairs. Fortunately, silicone sealants offer a quick, effective, and long-lasting solution.
In this blog, we’ll guide you through the process of repairing leaks with silicone sealants, from preparation to application. Plus, we’ll recommend the best products for the job and answer frequently asked questions. Let’s get started!
💡 Related Blog: Learn more about the versatility of silicone sealants in The Essential Guide to Silicone Sealants in Everyday Projects.
Why Silicone Sealants Are the Best for Leak Repairs
Silicone sealants are a popular choice for leak repairs because of their unique properties:
- Waterproof: Perfect for high-moisture areas like bathrooms, kitchens, and roofs.
- Durable: Resistant to wear and tear, ensuring long-lasting protection.
- Flexible: Moves with the surface to prevent cracks from reappearing.
💡 Related Blog: Explore their other benefits in Top Benefits of Silicone Sealants.
Common Areas Prone to Leaks
1. Bathrooms
- Around bathtubs, sinks, and shower enclosures.
- Common issue: Gaps in grout or old sealant can let water seep through.
2. Kitchens
- Countertops, backsplashes, and pipes under sinks.
- Common issue: Leaks from plumbing fixtures or water spills.
3. Roofs
- Cracks or gaps in roofing materials, especially around flashing.
- Common issue: Water infiltration during heavy rains.
4. Vehicles
- Windscreen edges, car windows, and sunroofs.
- Common issue: Water entering the interior during rain or car washes.
💡 Related Blog: For vehicle-specific repairs, read Guide to Windscreen Bonding Glue.
Step-by-Step Guide to Repairing Leaks with Silicone Sealants
1. Gather Your Tools
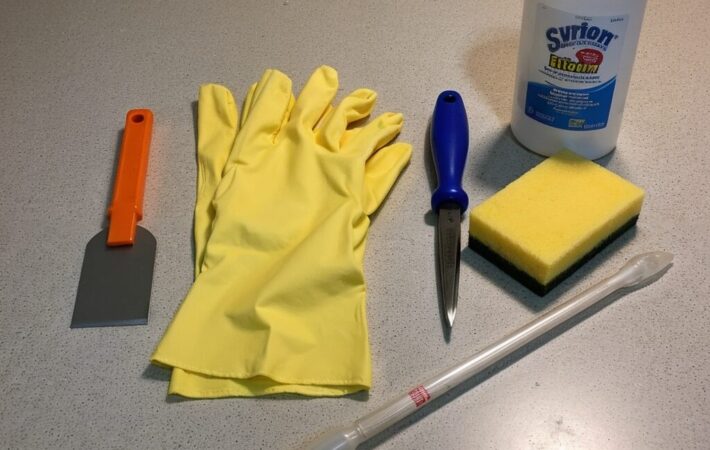
You’ll need:
- Silicone sealant (e.g., OPTIMUS Waterproof Silicone Sealant)
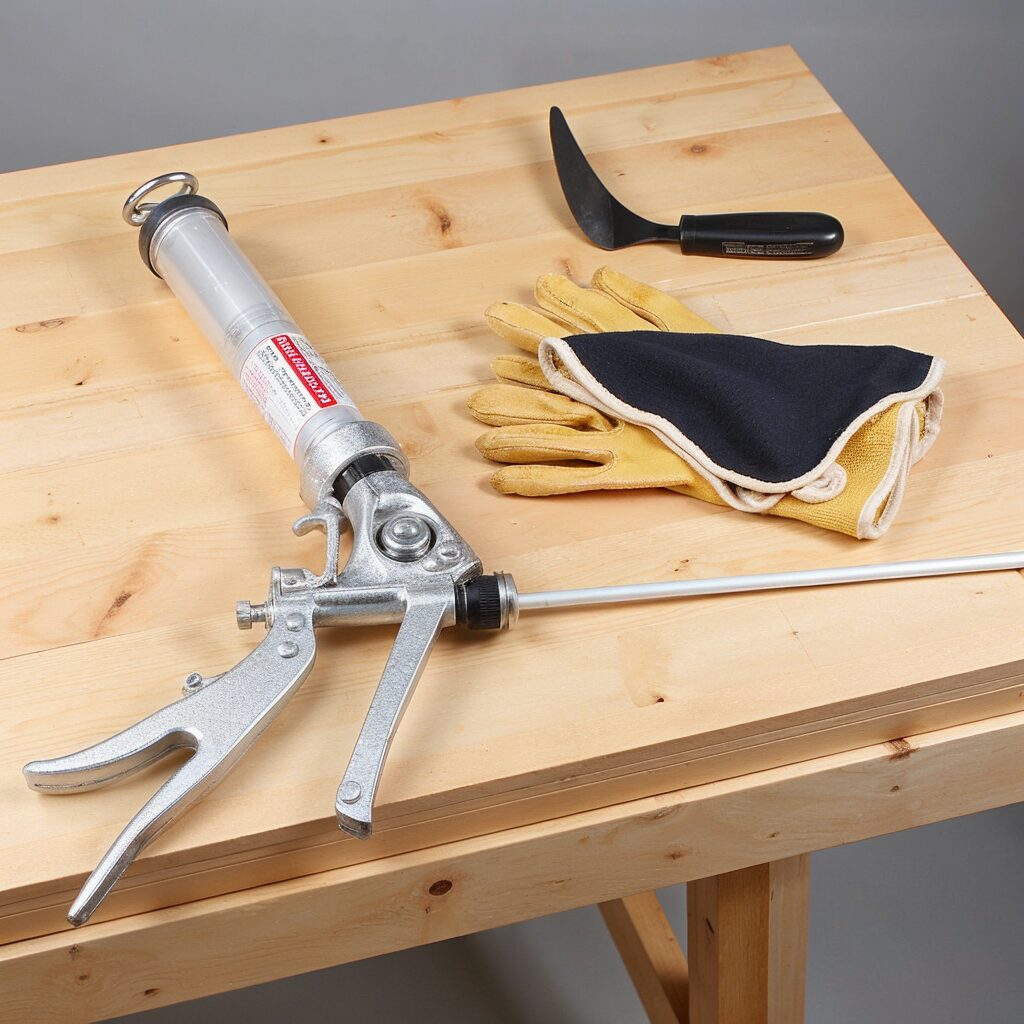
- A caulking gun
- Scraper or silicone remover
- Cleaning supplies (rubbing alcohol, dry cloths)
- A smoothing tool or damp finger
💡 Related Blog: Learn how to safely remove old sealant in How to Remove Silicone Sealant Safely.
2. Prepare the Surface
- Remove any old sealant using a scraper or silicone remover.
- Clean the area thoroughly with rubbing alcohol to remove dirt, grease, or soap residue.
- Allow the surface to dry completely before applying the new sealant.
3. Apply the Silicone Sealant
- Insert the sealant tube into the caulking gun.
- Cut the nozzle at a 45° angle to create a bead size that matches your project.
- Apply a smooth bead of silicone sealant along the edge of the leak.
💡 Pro Tip: Work in small sections to maintain control and avoid gaps.
4. Smooth the Bead
- Use a smoothing tool or damp finger to press the sealant into the joint and create a clean, professional finish.
- Wipe away any excess sealant immediately.
5. Allow Time to Cure
- Check the manufacturer’s instructions for curing time, typically 24–48 hours.
- Avoid exposing the area to water or stress during this period.
💡 Related Blog: For flawless results, follow Pro Tips for Applying Silicone Sealant.
Top Products for Leak Repairs
1. OPTIMUS Waterproof Silicone Sealant
- Best for: Bathrooms, kitchens, and high-moisture areas.
- Benefits: Waterproof and mold-resistant for long-lasting performance.
2. AutoStar Germany Windscreen Glass Sealant (310ml)
- Best for: Automotive windscreen bonding and sealing car windows.
- Benefits: High-strength formula designed for extreme weather conditions.
3. AutoStar Germany Multi-Purpose Silicone Sealant
- Best for: All-purpose repairs in homes and vehicles.
- Benefits: Durable and versatile for a wide range of projects.
FAQs About Leak Repairs with Silicone Sealants
How do I choose the right silicone sealant for leaks?
- Use waterproof or mold-resistant products for bathrooms and kitchens. For vehicles, choose high-strength sealants like AutoStar Germany Windscreen Glass Sealant.
How long does silicone sealant last on leak repairs?
- High-quality sealants can last 10–20 years with proper application.
Can I use silicone sealant on outdoor leaks?
- Yes, but ensure the product is weatherproof, like AutoStar Germany Multi-Purpose Silicone Sealant.
How long does silicone sealant take to cure?
- Most products cure within 24–48 hours, but check the manufacturer’s instructions for specifics.
Conclusion
Silicone sealants are your go-to solution for repairing leaks in bathrooms, kitchens, roofs, and vehicles. By following the right steps and using high-quality products like OPTIMUS Waterproof Silicone Sealant, you can ensure long-lasting, professional-grade results.
💡 Call-to-Action: Ready to fix those leaks? Explore our range of premium silicone sealants here.


Leave a comment
Your email address will not be published. Required fields are marked *