Silicone sealants are the unsung heroes of countless DIY and professional projects. Known for their waterproofing, flexibility, and durability, they play a pivotal role in maintaining homes, repairing vehicles, and supporting industrial applications.
But what makes silicone sealants such a go-to solution, and how can you use them effectively? This guide provides all the answers, from everyday applications to pro-level tips for flawless results.
💡 Pro Tip: If you’re new to using silicone sealants, check out How to Remove Old Silicone Sealant Safely before starting your next project.
Why Silicone Sealants Are Essential
Silicone sealants stand out due to their unique combination of properties, making them indispensable for various uses.
Key Benefits Include:
- Waterproofing: Perfect for bathrooms, kitchens, and outdoor areas.
- Durability: Resistant to UV rays, high temperatures, and chemicals.
- Flexibility: Remains elastic to accommodate material movement and prevent cracking.
- Adhesion: Bonds to materials like glass, metal, plastic, and ceramic.
💡 Related Blog: Explore The Top Benefits of Silicone Sealants to learn why they’re a favorite across industries.
Everyday Uses for Silicone Sealants
1. Sealing Bathrooms and Kitchens
Bathrooms and kitchens are areas prone to water exposure, making waterproof sealants essential.
Applications:
- Sealing around bathtubs, sinks, and shower enclosures.
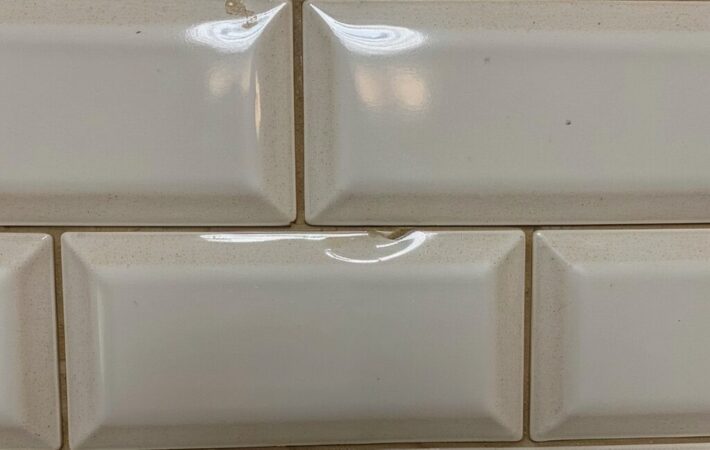
- Protecting countertops and backsplashes from water damage.
💡 Best Practice: Use a mold-resistant sealant like OPTIMUS Waterproof Silicone Sealant for areas exposed to moisture.
2. Weatherproofing Outdoor Projects
Silicone sealants are designed to handle harsh outdoor conditions, including sunlight, rain, and temperature changes.
Examples:
- Sealing window frames and siding.
- Waterproofing gutters and roofing materials.
- Protecting outdoor furniture joints.
💡 Learn More: Check out Weatherproofing with Silicone Sealants: Tips for Success to get started.
3. Automotive Repairs
In automotive applications, silicone sealants provide durability and heat resistance, making them suitable for:
- Bonding windshields and sealing car windows.
- Repairing engine parts exposed to high temperatures.
- Fixing body panel seams.
💡 Product Recommendation: Use AutoStar Germany Windscreen Bonding Glue for secure and lasting windshield repairs.
💡 Read More: Discover more in our Guide to Windscreen Bonding Glue.
4. Industrial and Construction Projects
Silicone sealants also find their place in heavy-duty industrial applications:
- Sealing gaps in machinery to prevent leaks.
- Filling expansion joints in buildings.
- Protecting electrical components from water damage.
Their chemical resistance and high heat tolerance make them ideal for demanding environments.
Common Mistakes to Avoid When Using Silicone Sealants
Mistake 1: Neglecting Surface Preparation
Applying silicone on dirty or greasy surfaces results in poor adhesion. Always clean and dry the surface beforehand.
💡 Related Blog: Learn how to Apply Silicone Sealants Like a Pro.
Mistake 2: Using the Wrong Sealant
Not all silicone sealants are created equal. For example:
- Bathrooms require mold-resistant formulas.
- Outdoor projects need UV-resistant products.
- High-temperature applications demand heat-resistant sealants.
💡 Read More: Choosing the Best Silicone Sealant for Any Project.
Expert Tips for Flawless Silicone Sealant Application
Step 1: Prepare the Surface
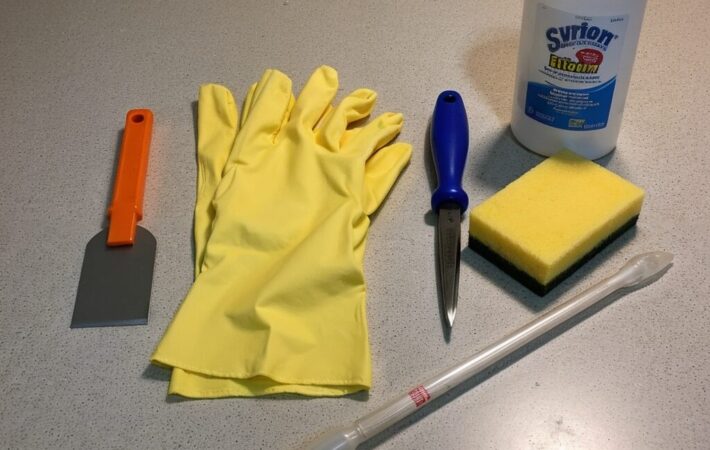
Remove old sealant, clean the area, and dry it thoroughly before applying new silicone.
Step 2: Apply Evenly
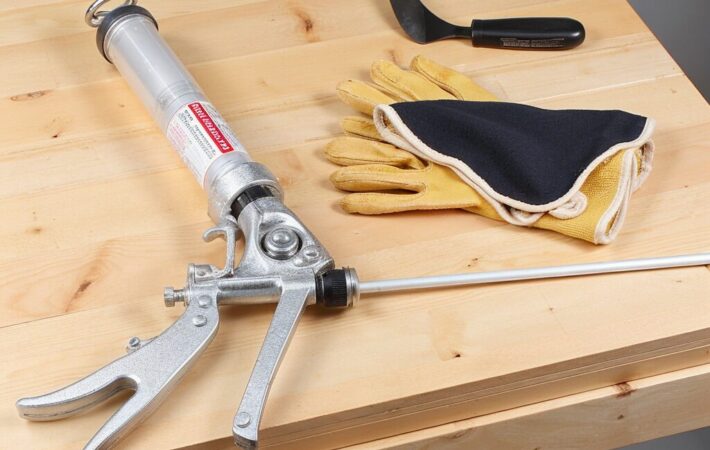
Use a high-quality caulking gun to lay a consistent bead of sealant.
Step 3: Smooth the Bead
Within 5–10 minutes, smooth the sealant using a damp finger or a professional smoothing tool.
💡 Pro Tip: Work in small sections to avoid rushed application as silicone begins curing when exposed to air.
Choosing the Right Silicone Sealant for Your Project
Selecting the right silicone sealant depends on your specific needs:
- Bathrooms and Kitchens: Use waterproof and mold-resistant products.
- Outdoor Projects: Opt for UV-resistant silicone sealants.
- Automotive Repairs: Choose heat-resistant products like AutoStar Germany Windscreen Glue.
💡 Learn More: Visit The Ultimate Guide to Silicone Sealants for a detailed breakdown.
FAQs About Silicone Sealants
Q1: How long do silicone sealants last?
High-quality silicone sealants can last 10–20 years with proper maintenance.
Q2: Can silicone sealants be used outdoors?
Yes, but ensure you choose UV-resistant formulas for durability.
Q3: Are silicone sealants paintable?
No, silicone sealants are not paintable. For painted finishes, consider acrylic sealants.
Q4: What’s the best way to apply silicone sealants?
Clean the surface, apply evenly with a caulking gun, and smooth the bead for a professional finish.
Q5: How do I remove old silicone sealant?
Use a scraper or silicone remover to lift old residue before cleaning and reapplying.
Conclusion
Silicone sealants are a must-have for waterproofing, bonding, and protecting surfaces across various applications. By avoiding common mistakes, following expert tips, and selecting the right sealant, you can achieve professional-grade results that last for years.
💡 Start Today: Browse our Silicone Sealant Collection to find the perfect solution for your project!


Leave a comment
Your email address will not be published. Required fields are marked *