Silicone sealant is a versatile solution for sealing gaps, waterproofing surfaces, and enhancing durability in areas like bathrooms, kitchens, and outdoor projects. Its flexibility, water resistance, and longevity make it indispensable for both DIY enthusiasts and professionals. However, improper application of silicone sealant can lead to uneven finishes, poor adhesion, or premature failure.
This guide highlights common mistakes when applying silicone sealant and offers expert tips to help you achieve a professional, long-lasting finish.
Common Mistakes When Applying Silicone Sealant
1. Why Surface Preparation is the Key to Long-Lasting Seals
Proper surface preparation is critical to achieving a strong bond and a smooth finish. Skipping this step often results in poor adhesion and early failure of the seal.
The Problem:
- Dirt, grease, or moisture prevents the sealant from sticking effectively.
- Residue or debris weakens the seal over time, leading to cracks or peeling.
The Solution:
- Clean Thoroughly: Use rubbing alcohol, acetone, or an appropriate cleaner to remove all contaminants.
- Dry Completely: Ensure the surface is moisture-free before application, as even small traces of water can interfere with adhesion.
💡 Pro Tip: High-humidity areas, like bathrooms, require extra attention during preparation. Use a fan or dehumidifier to ensure surfaces are fully dry before sealing.
2. How to Choose the Perfect Silicone Sealant for Every Job
Using the wrong type of silicone sealant can compromise its effectiveness. Each sealant type is designed for specific materials and conditions.
The Problem:
- General-purpose sealants may fail in high-temperature environments or mold-prone areas.
- Certain surfaces, like metal or porous materials, may require specialized products to prevent damage or ensure longevity.
The Solution:
- Match the Sealant to Your Task:
- Acid-Cure Silicone: Perfect for non-porous surfaces like glass. Avoid using on sensitive materials like metal.
- Neutral-Cure Silicone: Suitable for metals, concrete, and other porous materials as it prevents corrosion.
- Specialty Silicone Sealants: Use mold-resistant options for bathrooms or UV-resistant sealants for outdoor projects.
💡 Tip: For more information on silicone sealant properties, explore this guide from RS about different types of sealants and their uses.
3. Avoid These Common Mistakes with Silicone Application Techniques
Even the best silicone sealant can deliver subpar results when applied incorrectly. Poor technique often leads to wasted product, messy finishes, and weakened seals.
The Problem:
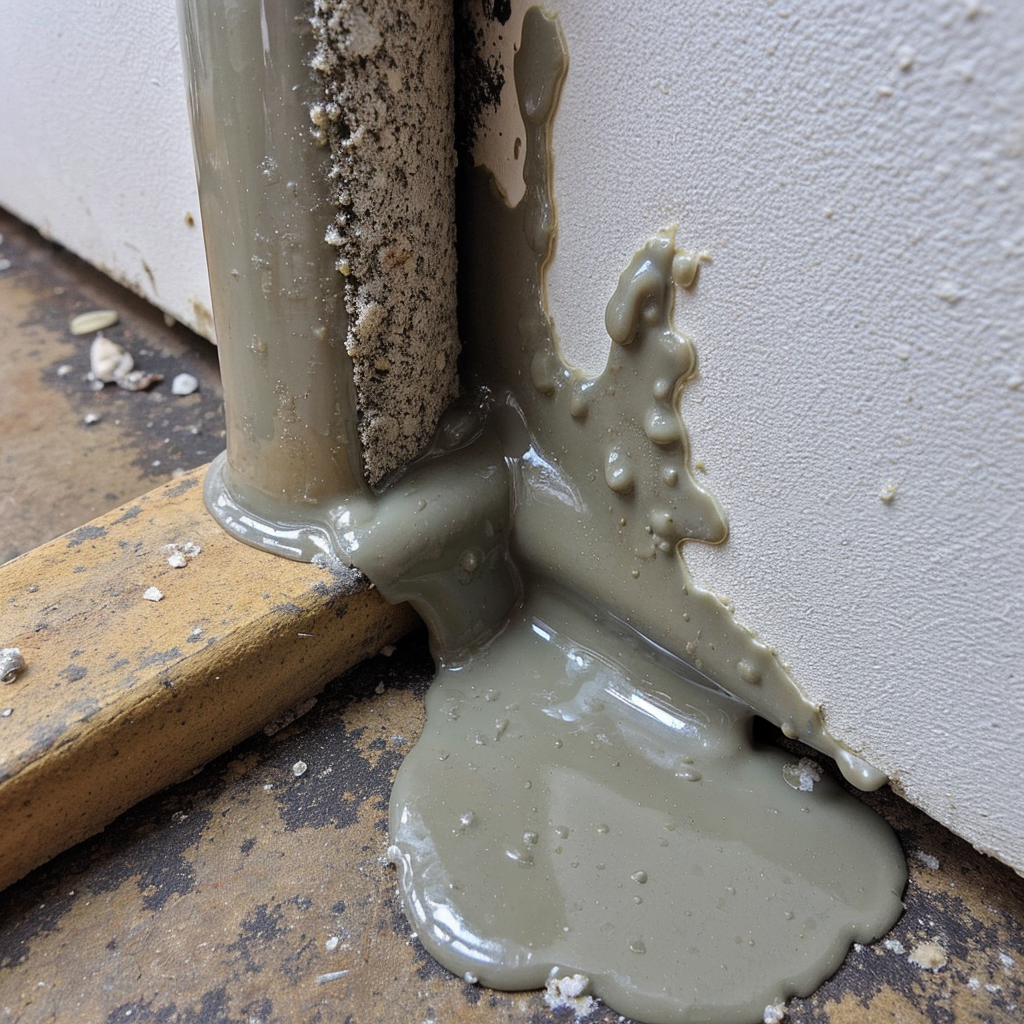
- Uneven beads or excessive sealant application cause gaps or waste.
- Neglecting to smooth the sealant results in rough edges or incomplete sealing.
The Solution:
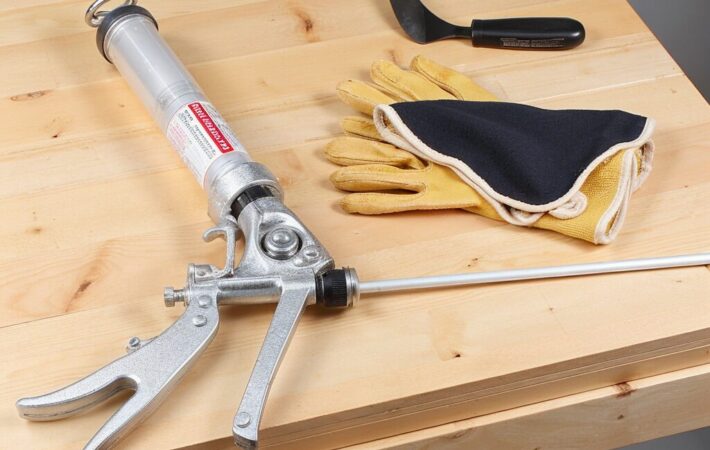
- Use a High-Quality Caulking Gun: Ensures consistent flow and better control.
- Apply a Thin, Even Bead: Avoid over-applying for a neater finish and faster curing.
- Smooth Immediately: Use a dampened finger or a caulking tool to smooth the bead before it begins to set.
💡 Pro Tip: For detailed guidance, explore Top 5 Essential Tips for Applying Silicone Sealant Like a Pro for step-by-step advice.
4. Why Ignoring Curing Times Can Ruin Your Seal
Rushing the curing process is a critical error that can weaken the seal. Patience is essential to ensure the sealant bonds properly and achieves maximum durability.
The Problem:
- Premature exposure to water, dust, or movement disrupts curing.
- Many users assume the sealant is ready within hours, but full curing often requires days.
The Solution:
- Follow Manufacturer Guidelines: Allow the sealant to cure for 24–48 hours as recommended.
- Protect During Curing: Prevent exposure to moisture, dust, or vibration during this period.
💡 Tip: For more tips, check out Silicone Sealant Lifespan: How to Make It Last Longer to learn about curing best practices.
Tips for Successful Silicone Sealant Application
1. Use Masking Tape for Precision
Place masking tape along the edges of the joint to create clean lines. Remove the tape immediately after smoothing the sealant for a neat finish.
2. Invest in Quality Tools
A good caulking gun and smoothing tool can simplify the process, improve control, and enhance the final result.
3. Work in Manageable Sections
Since silicone sealant starts curing as soon as it’s exposed to air, tackle small sections at a time to avoid rushed application.
4. Practice on a Scrap Surface
If you’re new to applying sealant, practice on a scrap surface to get comfortable with the flow and pressure required for an even bead.
5. Follow Safety Guidelines
Work in a well-ventilated area to avoid inhaling fumes. Wear gloves to protect your hands from prolonged exposure to the sealant.
FAQs About Applying Silicone Sealant
Ensure the surface is clean, dry, and free of grease. A swipe with rubbing alcohol will confirm cleanliness.
Most silicone sealants aren’t paintable. If a painted finish is required, opt for paintable silicone products.
When applied correctly, silicone sealants can last 5–10 years, depending on the environment and maintenance.
Yes! Use a silicone remover or utility knife to scrape off old sealant, then clean and prepare the surface before reapplying.
Conclusion
Applying silicone sealant like a pro involves more than just squeezing it out of a tube. By avoiding common mistakes—like neglecting surface preparation, selecting the wrong sealant, or rushing curing—you can achieve a professional finish that lasts.
💡 Ready to get started? Explore our premium Silicone Sealant Collection to find the perfect product for your project, and check out more resources to master your technique.


Leave a comment
Your email address will not be published. Required fields are marked *