Removing old silicone sealant can be a tricky task, but it’s an essential step to ensure a clean surface for new sealant application. When you have to remove old silicone whether you’re working on a bathroom, kitchen, or outdoor project, proper removal techniques will help you achieve a durable and professional finish. This guide covers everything you need to know about safely removing old silicone sealant, from tools and methods to expert tips for avoiding damage.
Why Removing Old Silicone Sealant Is Important
Old or failing silicone sealant can lead to:
- Mold and Mildew Growth: Over time, sealants can harbor bacteria and fungi, especially in moist environments like bathrooms. Learn how to prevent mold by reading How to Maintain and Extend the Life of Silicone Sealants.
- Poor Adhesion: Applying new silicone over old sealant compromises its bonding strength and durability.
- Aesthetic Issues: Cracked or peeling sealant detracts from the overall appearance of your project.
Tools You'll Need for Removing Silicone Sealant
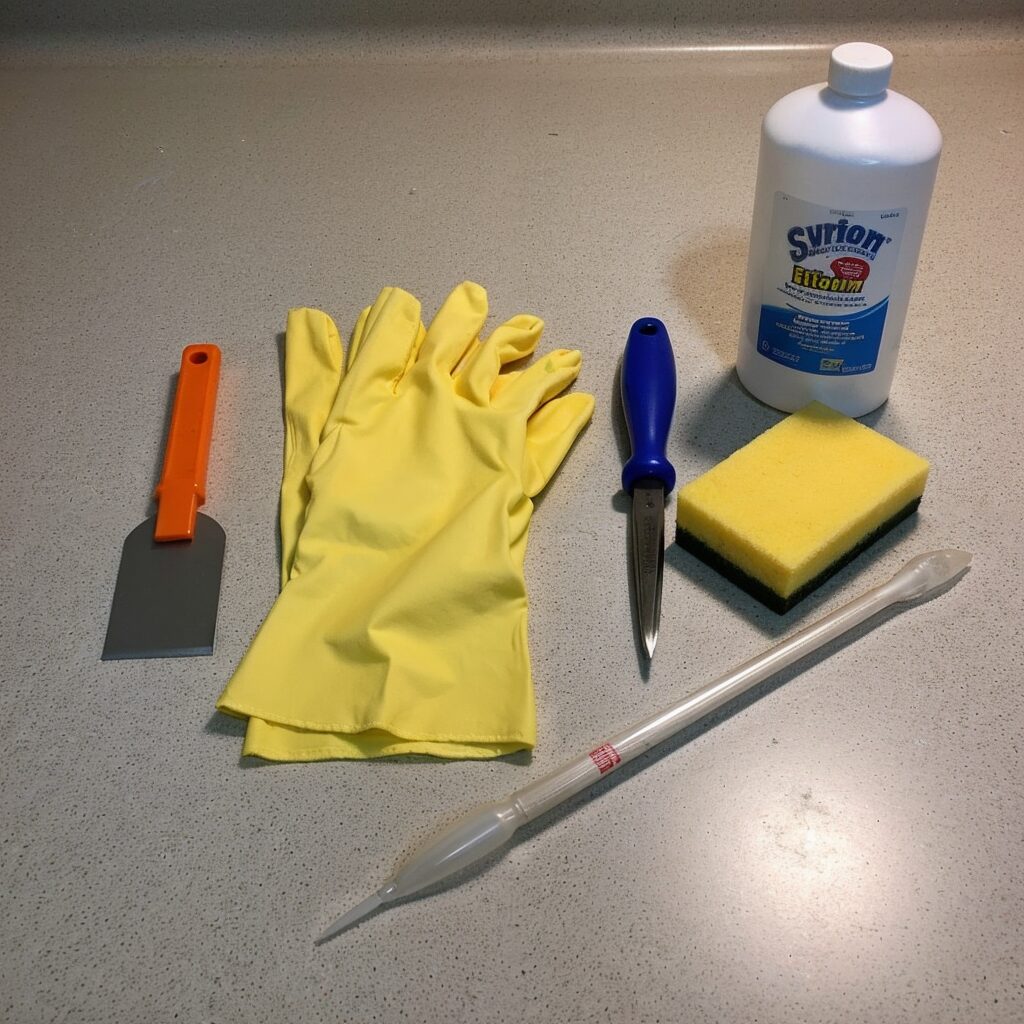
Before you begin, gather the right tools to ensure a clean and damage-free removal process:
Essential Tools
- Silicone Sealant Remover: A chemical solution designed to soften old silicone for easy removal.
- Utility Knife or Razor Blade Scraper: For cutting and peeling away larger chunks of sealant.
- Plastic Scraper: Ideal for delicate surfaces to avoid scratches.
- Rubbing Alcohol or Acetone: To clean residue after the sealant is removed.
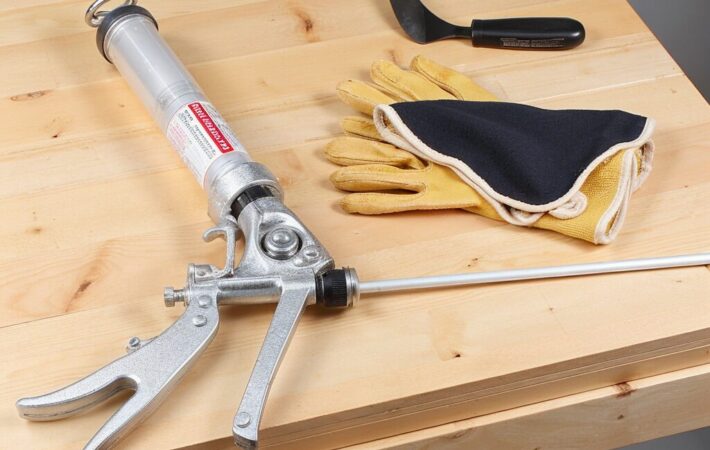
- Protective Gloves: To protect your hands from chemicals and sharp tools.
- Cloth or Sponge: For wiping and cleaning surfaces.
Optional Tools
- Heat Gun: Useful for loosening sealant in cold conditions.
- Toothbrush or Small Brush: To clean hard-to-reach areas.
For more on the essential tools needed for any silicone project, check out our guide Top 7 Applications of Silicone Sealants.
Step-by-Step Guide to Removing Old Silicone Sealant
Step 1: Soften the Silicone
- Apply Silicone Remover: Use a commercial silicone remover (e.g., Everbuild Sealant Remover) on the old sealant. Follow the manufacturer’s instructions for application time, typically 30 minutes to an hour.
- Let It Sit: Allow the remover to penetrate the sealant, softening it for easier removal.
Step 2: Cut and Peel Away the Silicone
- Use a Utility Knife: Carefully slice along the edges of the silicone bead to loosen it from the surface.
- Peel Slowly: Use your fingers or a plastic scraper to lift the sealant. Avoid pulling too hard, as this can damage the underlying surface.
Step 3: Scrape Residual Sealant
- Switch to a Plastic Scraper: Remove remaining bits of silicone gently, especially on sensitive surfaces like tiles, glass, or aluminum.
- Use a Heat Gun (Optional): Warm the sealant slightly to make it more pliable, but be cautious not to overheat and damage the surface.
Step 4: Clean the Surface
- Apply Rubbing Alcohol or Acetone: Wipe the surface with a cloth or sponge dipped in rubbing alcohol to dissolve any leftover residue.
- Dry Thoroughly: Ensure the area is completely dry before applying new silicone sealant.
Pro Tips for Safe and Effective Silicone Removal
- Use the Right Tools for the Surface: Avoid metal scrapers on delicate materials like glass or ceramics to prevent scratches.
- Test in a Small Area First: When using a chemical remover, test it on a hidden area to ensure it doesn’t damage the surface.
- Work in Sections: Focus on small areas at a time to maintain control and avoid spreading softened sealant.
- Replace Blades Frequently: A dull blade can damage surfaces and make removal more difficult.
- Ventilate the Area: When using chemicals or heat, ensure proper ventilation to avoid inhaling fumes.
For more in-depth advice on application techniques and troubleshooting, check out Pro Tips for Applying Silicone Sealants.
Common Mistakes to Avoid During Silicone Removal
- Skipping Surface Preparation: Always clean surfaces thoroughly before applying new silicone. Read our Guide to Silicone Sealant Lifespan to understand how preparation impacts durability.
- Using Harsh Tools: Avoid using abrasive tools that can damage surfaces.
- Neglecting Safety Precautions: Always wear gloves and work in well-ventilated areas when using chemical removers.
FAQs About Silicone Sealant Removal
Q: How long does it take to remove old silicone sealant?
A: The process typically takes 1–2 hours, depending on the size of the area and the tools used.
Q: Can I apply new silicone over old sealant?
A: No, always remove old sealant to ensure proper adhesion and a clean finish.
Q: Is it safe to use a utility knife on tiles or glass?
A: Yes, but use it carefully and avoid excessive force to prevent scratches or damage.
For more FAQ answers, explore How to Maintain and Extend the Life of Silicone Sealants.
Conclusion
Removing old silicone sealant is a vital step for ensuring long-lasting and professional results. With the right tools, techniques, and products, you can prepare your surfaces effectively for new applications. Whether you’re resealing a bathroom, kitchen, or outdoor project, following this guide will help you achieve a flawless finish.
💡 Ready to get started? Browse our Silicone Sealant Collection to find the perfect product for your next project. For additional advice on the best sealants for your needs, check out How to Choose the Best Silicone Sealant.


Leave a comment
Your email address will not be published. Required fields are marked *