Learn the Top Techniques for Achieving a Professional-Quality Silicone Seal Every Time
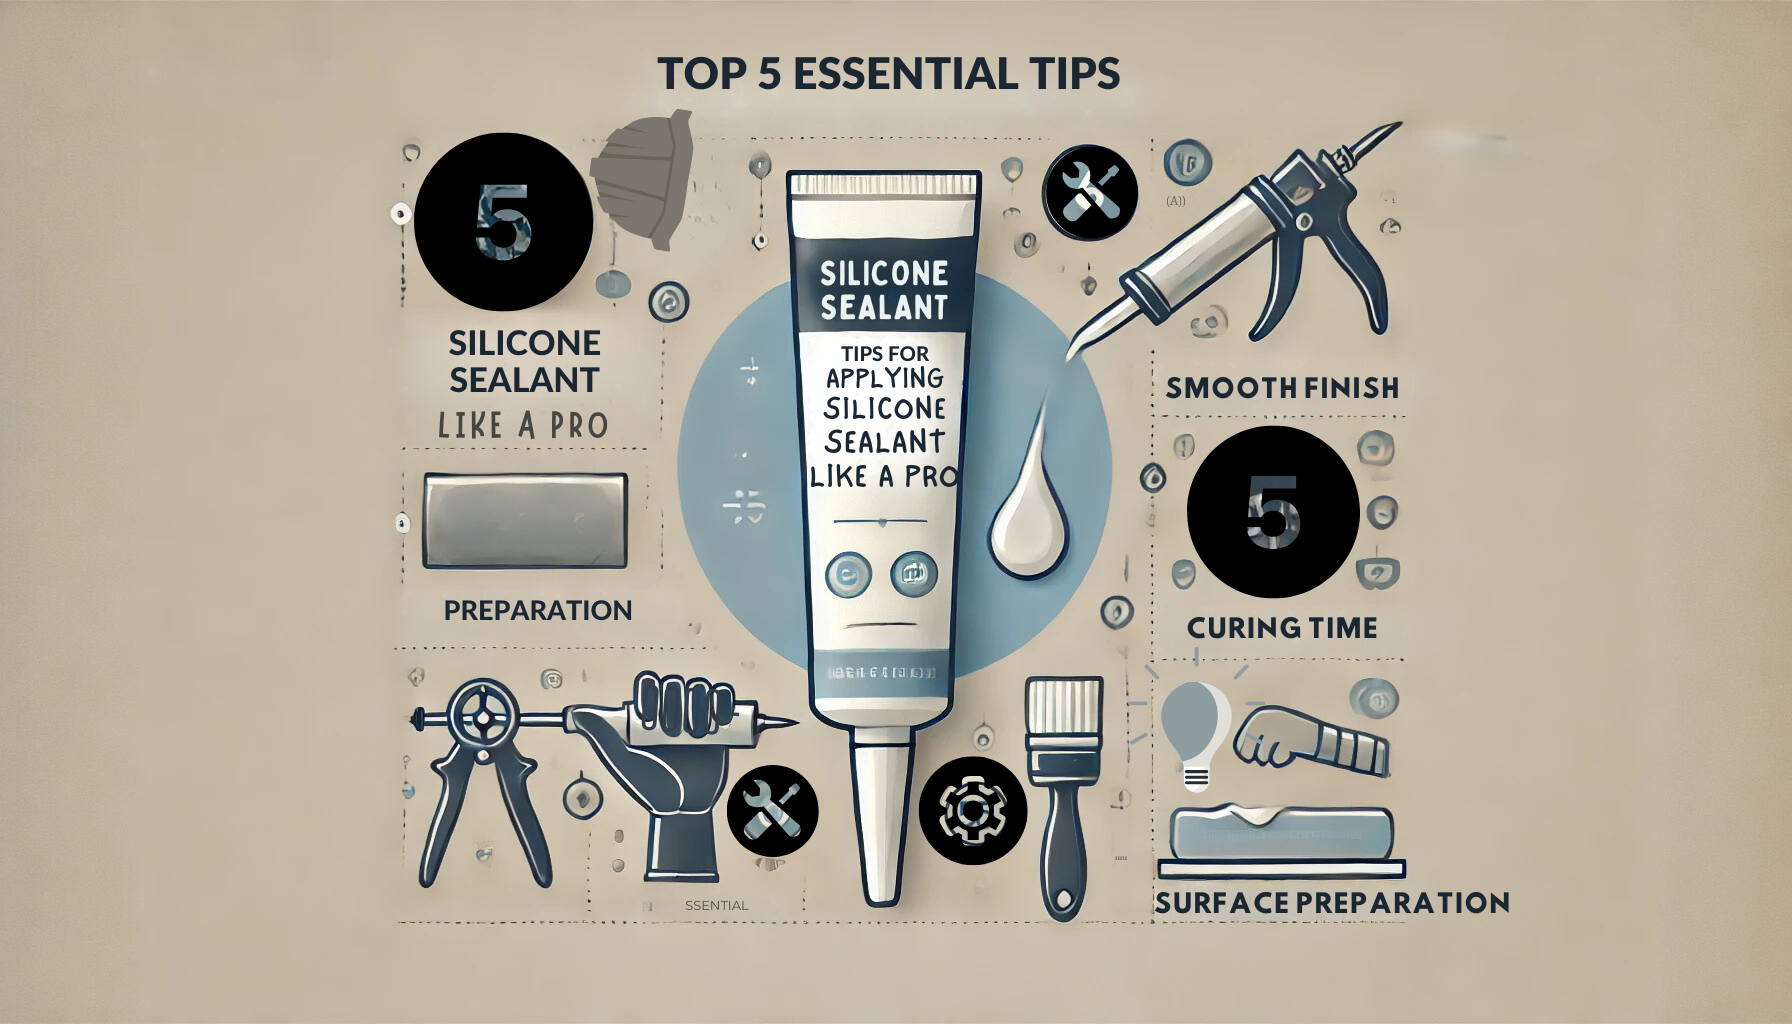
Applying silicone sealant is essential for achieving a long-lasting, professional finish so achieving a perfect seal isn’t just about the product—it’s about technique. With the right application, your silicone sealant can provide a durable, professional finish that stands the test of time. Whether you’re a DIY enthusiast or a seasoned professional, these essential tips will help you achieve a long-lasting, smooth finish on your next project..
1. Choose the Right Silicone Sealant for Long-Lasting Results
Using the correct type of silicone prevents peeling, poor adhesion, and mildew growth, ensuring your seal lasts. When applying silicone sealant, it’s crucial to prepare the surface correctly to ensure durability and adhesion.
Recommended Products
OPTIMUS Waterproof Silicone Sealant
- Quick-curing, mold-resistant formula
- Ideal for bathrooms, kitchens, and high-moisture areas
AutoStar Germany Windscreen Glass Sealant
- Temperature and vibration-resistant
- Perfect for automotive glass bonding
For more insights on different sealant types and their uses, check out the Toolstation Sealant Buying Guide.
2. How to Prepare the Surface for Silicone Sealant Application
Proper surface preparation ensures better adhesion and prevents the sealant from lifting or peeling.
Even the highest-quality silicone sealants, like AutoStar Germany Multi-Purpose Silicone, won’t adhere well if the surface is dusty, greasy, or has old sealant residue.
Pro Tip:
- Lightly scuff non-porous surfaces (like glass or metal) with sandpaper to improve adhesion.
- Clean with rubbing alcohol or a mild solvent to remove dust and grease.
3. Apply Even Pressure with a Caulking Gun for Smooth Sealing
A smooth, even application prevents gaps that weaken the seal and allows the silicone to adhere consistently.
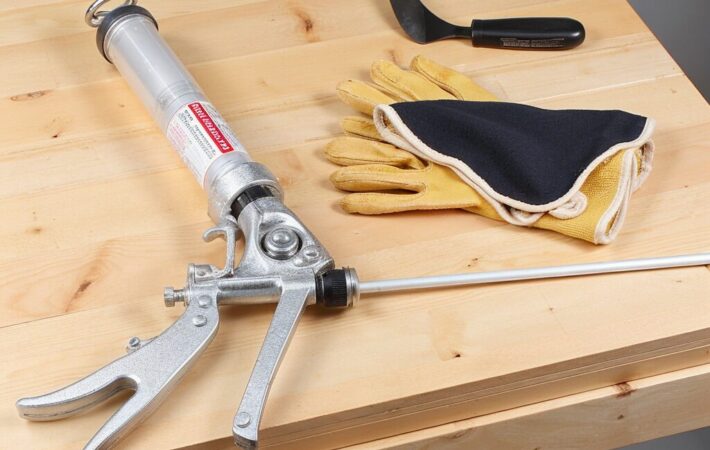
Cut the nozzle of the silicone tube at a 45-degree angle to control the bead size, and apply steady pressure to avoid air bubbles. This technique works well with fast-curing sealants like OPTIMUS Waterproof Silicone Sealant.
Quick Tip:
- For high-moisture areas like bathrooms, opt for acetoxy silicones as they cure quickly and resist mold.
4. Tool the Joint for a Smooth Finish
Tooling the silicone bead improves its appearance and ensures it adheres securely on both sides of the joint.
After applying the silicone, use a caulking tool or even a plastic spoon to smooth out the bead. This step is essential in areas exposed to water to create a watertight seal.
Pro Tip:
- Dip your caulking tool in soapy water to prevent the silicone from sticking, making it easier to achieve a smooth finish.
5. Allow Ample Time for Curing
Proper curing is essential for creating a strong, durable bond that withstands environmental stress over time.
Each silicone type has a different curing time. For example, acetoxy silicones cure faster, which is great for quick repairs, while neutral cure silicones may need longer curing times for optimal bonding.
Best Practice:
- For areas with constant moisture exposure, like bathrooms, a waterproof silicone such as OPTIMUS Waterproof Silicone Sealant is ideal for a long-lasting, mold-resistant seal.
Common Mistakes to Avoid When Applying Silicone Sealant
Even with the right tools and techniques, small mistakes can impact the effectiveness of a silicone seal. Here are some common pitfalls to avoid for a flawless, professional result.
1. Skipping Surface Preparation
One of the most frequent mistakes is neglecting proper surface preparation. Applying silicone to a dirty or greasy surface will prevent it from adhering properly, which can lead to peeling and gaps in the seal. Always make sure surfaces are clean, dry, and free from oils or old sealant residue before application.
2. Applying Silicone Too Thickly or Too Thinly
Applying too much silicone can lead to an unsightly, bulky bead that takes longer to cure, while applying too little may result in an insufficient seal. The ideal bead size depends on the joint width and type of application. For most DIY projects, a 3-5mm bead is a good balance between coverage and aesthetics.
3. Not Tooling the Sealant Quickly Enough
Silicone begins to skin over and cure within minutes of application. If you wait too long to tool the sealant, you may not achieve a smooth, even finish. For best results, tool the silicone within a few minutes after applying it.
4. Skipping Masking Tape on Edges
Masking tape can make a huge difference when it comes to achieving clean edges. Before applying the silicone, use masking tape along both sides of the joint to ensure a precise finish. Remove the tape immediately after tooling to avoid pulling up the sealant.
5. Ignoring Temperature and Humidity Conditions
Environmental factors can affect the curing process. Applying silicone in cold or damp conditions may slow down curing, while hot, dry conditions can cause the silicone to cure too quickly. For best results, apply silicone at moderate room temperature (between 5°C and 35°C) with low humidity.
6. Choosing the Wrong Type of Silicone Sealant
Using the wrong type of silicone for a specific application can cause premature seal failure. For instance, a general-purpose sealant may not withstand high moisture or temperature fluctuations. When sealing wet areas, always choose a mold-resistant, waterproof sealant like OPTIMUS Waterproof Silicone Sealant, while for high-temperature applications, consider a high-temperature-resistant silicone.
Troubleshooting Common Silicone Sealant Issues
Having trouble with your silicone application? Here are solutions to common issues:
🚫 Problem: Silicone isn’t adhering properly
- 🛠 Solution: Ensure the surface is completely clean and dry. For tough surfaces, consider a primer or light sanding.
🚫 Problem: Air bubbles in the silicone
- 🛠 Solution: Apply steady, even pressure with the caulking gun and tool the joint immediately to remove trapped air.
🚫 Problem: Silicone discolors over time
- 🛠 Solution: Use UV-resistant silicone in areas exposed to sunlight, and always apply mold-resistant silicone in high-moisture areas.
🚫 Problem: Sealant isn’t spreading smoothly
- 🛠 Solution: Apply silicone in a warm environment, as cold temperatures can make it harder to spread smoothly.
🚫 Problem: Silicone is peeling off after curing
- 🛠 Solution: For moisture-prone areas, use a waterproof, mold-resistant silicone like OPTIMUS Waterproof Silicone Sealant.
Need help finding the right sealant? Check out our Silicone Sealant Collection for durable, high-performance options.
Frequently Asked Questions (FAQ)
Q1: How do I remove old silicone before applying new sealant?
Use a silicone remover or utility knife to carefully scrape away the old sealant. Clean the area thoroughly with rubbing alcohol or a mild solvent before reapplying.
Q2: Can I paint over silicone sealant?
Most silicones aren’t paintable due to their flexible, non-porous nature. If you need a painted finish, consider an acrylic or hybrid sealant, or use painter’s tape to create clean edges around painted areas.
Q3: How long does silicone last once applied?
High-quality silicone sealants, like those offered by AutoStar and OPTIMUS, can last several years when applied correctly and maintained.
Q4: Can silicone sealants be used outdoors?
Yes, many silicone sealants are UV-resistant, making them suitable for outdoor applications. Be sure to choose a product that’s labeled as outdoor-safe.
Q5: How can I remove silicone residue after taking off old sealant?
Use rubbing alcohol or a silicone remover to dissolve any residue. This step ensures the new sealant bonds properly.
Get Ready for a Pro-Level Seal!
Using the right silicone sealant and applying it properly can make all the difference in the quality and durability of your project. Whether you’re working on bathroom tiles, a kitchen sink, or a car windshield, following these tips will ensure professional results.
Ready to achieve professional-quality results? Browse our Silicone Sealant Collection to find high-performance products tailored for your needs, and start achieving a durable, waterproof seal today!


Leave a comment
Your email address will not be published. Required fields are marked *